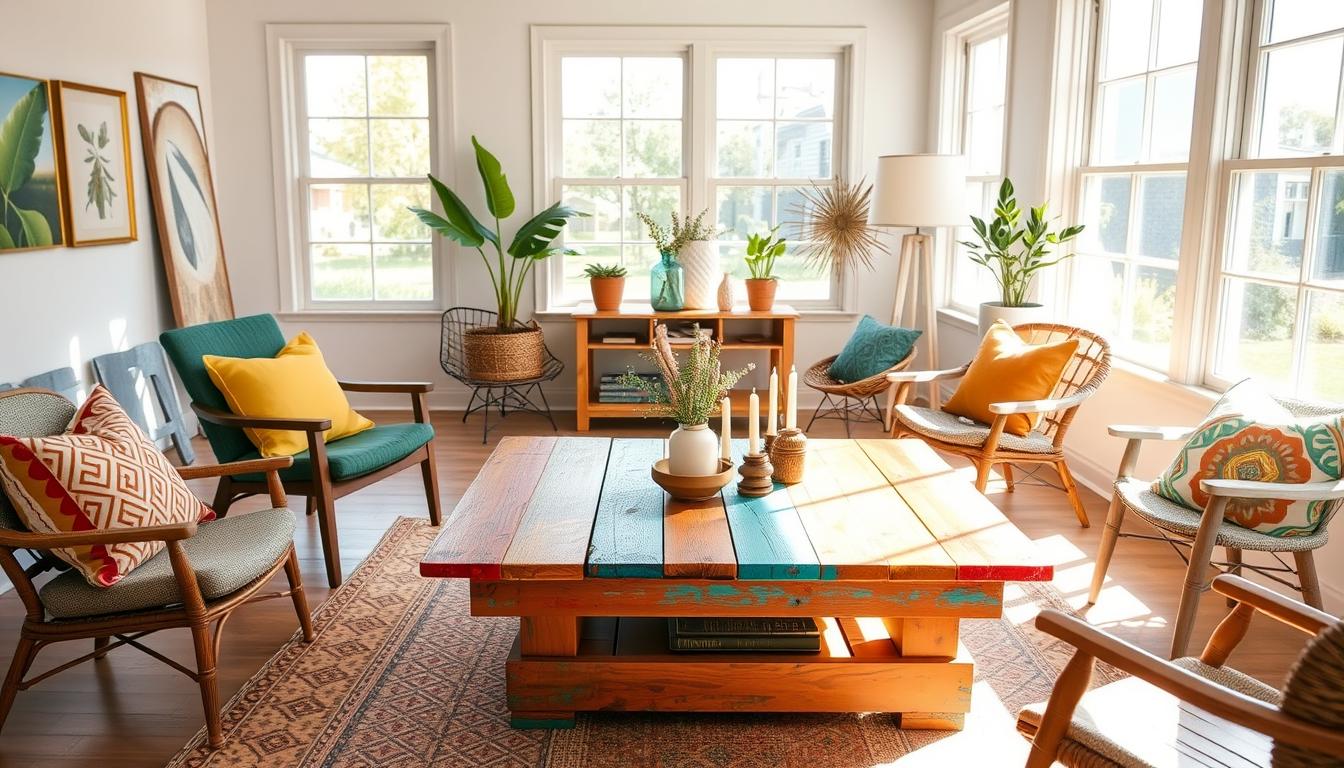
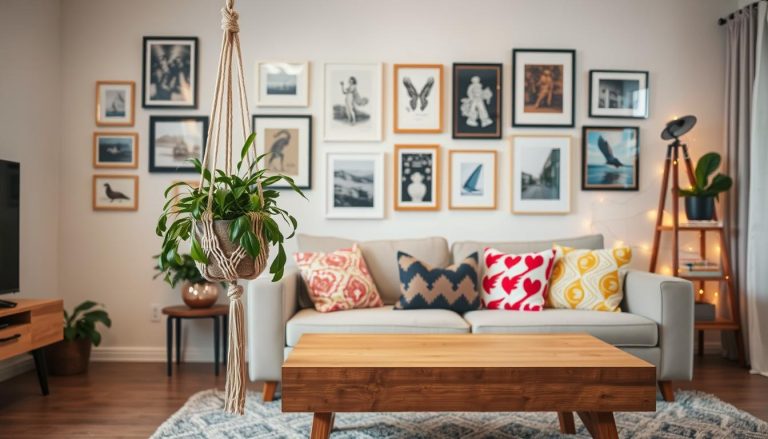
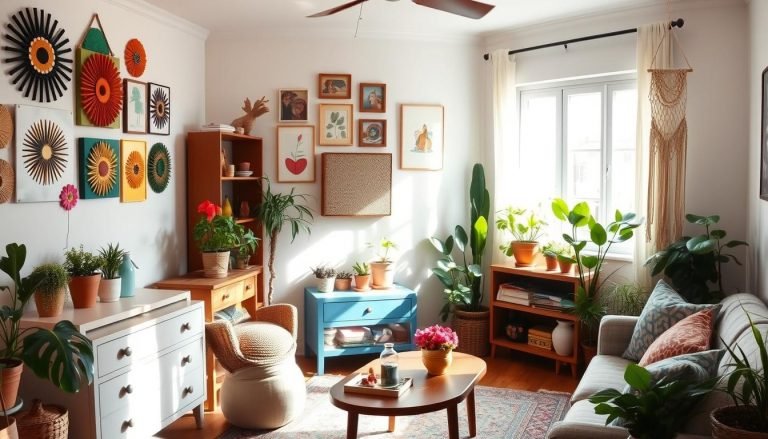
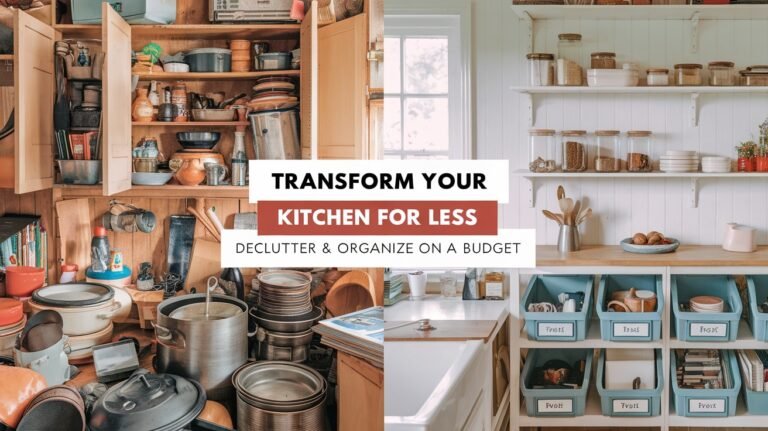
Refresh Your Space with DIY Furniture Makeover Ideas
Ever seen furniture and thought of its potential? I believe DIY makeover ideas can change spaces. Every piece, from thrift store finds to family treasures, has a story. Making old furniture new again is rewarding and lets me show my style.
Recently, over 50 washstands got a new life thanks to DIY fans like those at Reinvented Delaware. A mid-century china cabinet, once ignored, now shines. An antique 1930s small pantry, almost thrown away, became a treasured piece.
Think of the possibilities: new legs, reupholstery, or fresh paint can make furniture stunning. It’s not just about looks; it’s also about being green. Upcycling furniture makes my home unique and eco-friendly.
Let’s dive into the world of DIY furniture makeovers. Here, old becomes new, and every project is a special journey.
Transforming Thrift Store Finds into Treasures
Thrift stores are a treasure trove for those who love to give old furniture a new life. I enjoy searching through aisles for unique pieces, imagining how they can be transformed. A vintage desk I found was a perfect example. It was affordable and needed some TLC. With a bit of DIY magic, it became a beautiful workspace that adds charm to my home.
When I’m on the hunt, I look for pieces that are sturdy and have special details. A simple dresser can turn into a stylish piece with a fresh coat of paint and new hardware. The world of creative furniture updates is vast, especially when you mix thrifted items with your personal style.
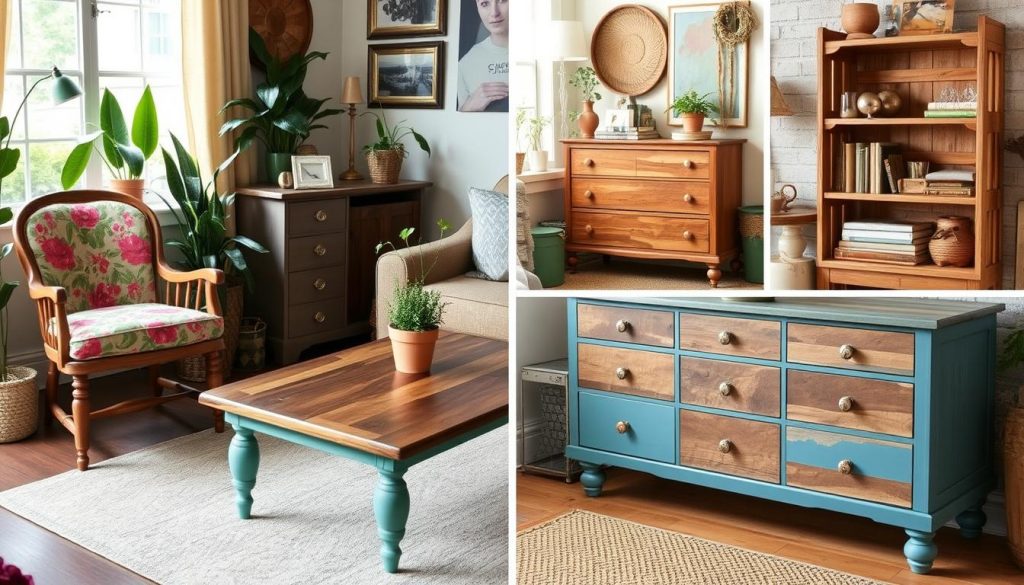
Not every thrift store visit is a success. Sometimes, I leave without finding anything special. But when I do find something great, I think carefully about how to update it. Items like lamps and tables can be refinished or updated for much less than buying new. Recently, I found a lovely lamp for $7.00, which perfectly complemented a desk I had already updated.
My DIY process is simple: clean, sand, and paint. A quick 30-minute paint job can make a huge difference, especially with Chalk Paint. I often leave some parts, like drawer fronts, untouched to add a touch of whimsy. Sometimes, I add new handles or wheels to make the piece more functional.
Upcycling thrifted items not only saves money but also helps the environment. Each restored piece adds charm and history to my home, connecting my style to a larger story. Exploring thrift stores and mixing old with new can make any space more beautiful.
The Benefits of Furniture Refurbishing
Furniture refurbishing has many benefits beyond making your home look good. It’s a smart way to save money on new furniture. By upcycling, I’ve cut down on spending and made unique items with personality.
One great thing about refurbishing is making furniture your own. I can tailor each piece to fit my design perfectly. This process has taught me a lot about furniture making and design.
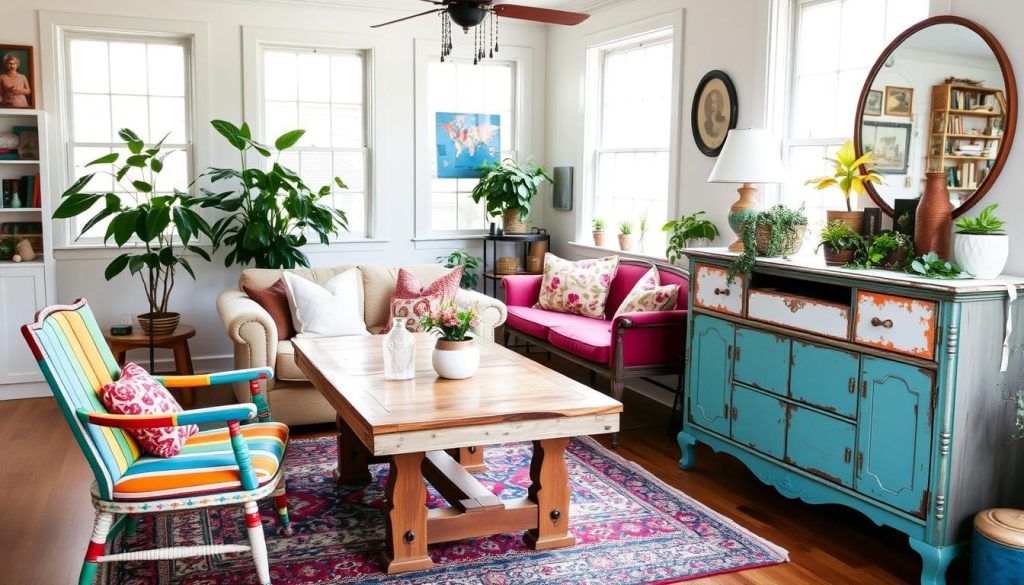
Refurbishing furniture makes me more resourceful and adaptable. I love changing my furniture’s style and color as my tastes change. Plus, it lets me take on more home projects, which can boost my home’s value.
This journey has brought more than just fun. It’s a great way to earn money, especially for teens. My friend Jen has inspired many with her projects, showing how upcycling can bring people together.
At local vintage markets, I look for furniture to fix up. You can find everything from simple clean-ups to bigger repairs. Upcycling also helps the environment by reducing waste and pollution from new furniture production.
In short, furniture refurbishing is creative and practical. Pinterest gives me endless ideas, and there are many places to find furniture. This means I can turn almost any piece into something special.
DIY Furniture Makeover Ideas
Refreshing your living space can be fun and rewarding. With DIY furniture makeover ideas, you can turn old pieces into something beautiful. I’ve tried many techniques, from simple to advanced, for both beginners and experts. Here are some of the most effective ones I’ve found.
Simple Techniques for Beginners
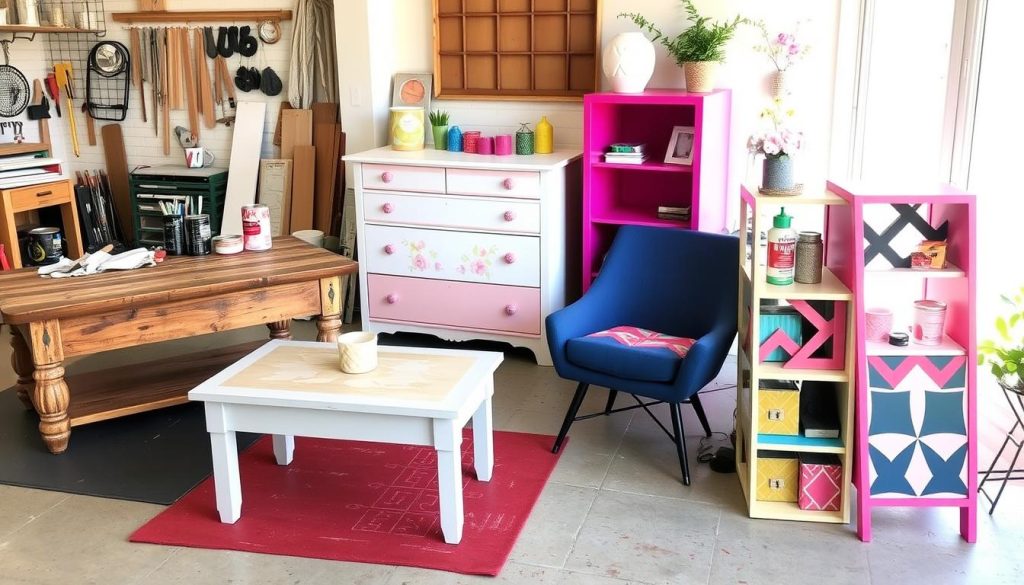
For beginners, a few easy methods are great. Painting is a favorite of mine. A fresh coat of chalk paint can make old furniture look new again. I’ve seen dressers get a modern look with vibrant colors.
Other quick fixes include:
- Sanding surfaces for a rustic finish.
- Updating hardware for a style boost.
- Using fabric to recover cushions or chair seats.
Advanced Techniques for Crafting Experts
For those with more experience, there are exciting advanced techniques. Reupholstering can transform an old chair into something stylish. I’ve also tried intricate paint designs, using multiple colors for depth.
One ambitious project was turning claw foot bathtubs into chic outdoor sofas. This shows the amazing potential of creativity. Other advanced ideas include:
- Metallic finishes for side tables or accent pieces.
- Installing new legs or frames to upgrade looks.
- Mixing paint types like mineral and milk paints for unique appearances.
These DIY furniture makeover ideas not only make furniture look better but also promote sustainability. They encourage the reuse of existing items. Working on these projects can be satisfying and beautify your home.
Creative Furniture Updates for Every Room
Every corner of a home shows off a person’s style. That’s why making furniture updates is key to making spaces personal. I’ve found many ways to turn simple pieces into eye-catching highlights. For example, a $12 side table became a cool nightstand with a splash of color and chic knobs.
The dining room is a great place for creative furniture makeovers. Thrift stores and flea markets have lots of affordable chairs just waiting for a new look. A simple paint job, like yellow, and some new fabric can turn these chairs into conversation pieces. It’s rewarding to see an old chair become a stylish statement.
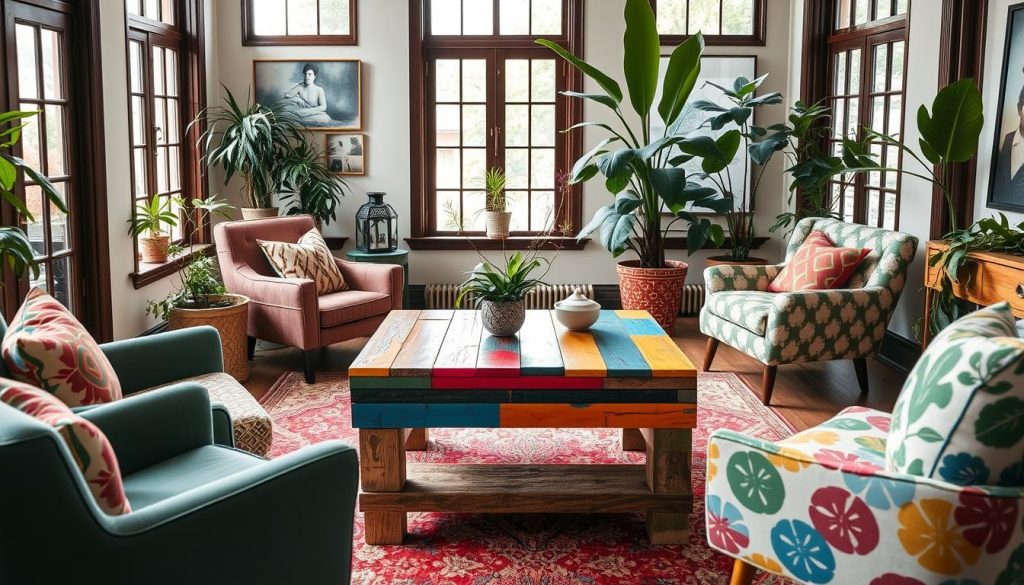
Bedrooms can also get a creative boost. I updated an old iron headboard with a new cover, making it cozy. There are over 32 DIY headboard ideas that show how easy it is to refresh a bedroom without spending a lot.
Using techniques like distressing or mixing paints, I’ve turned old furniture into treasures. My creative furniture updates have led me to try different colors and finishes. This has made my home vibrant and personal, all while staying budget-friendly.
When it comes to repurposed furniture, the possibilities are endless. From making storage in small spaces to finding new uses for vintage items, there’s always something new to try. Embrace the process of transforming furniture and watch your home come alive.
Budget-Friendly Furniture Transformations
Starting a budget-friendly furniture makeover is fun and creative. Finding affordable materials is crucial to keep costs down and get great results. There are many ways to update your space without spending a lot.
Ideas for Low-Cost Materials
I always look for local deals on materials for my projects. Thrift stores, yard sales, and online sites often have great finds. Here are some top picks for cheap materials:
- Wood Trim Pieces: Using 2-8 ft. pieces of 2 1/2” interior pine wood casing can easily elevate the appearance of a piece.
- Plywood Sheets: Look for smooth finish plywood sheets, particularly 1/4-inch thick, which serve as excellent bases or backs for projects.
- Quality Screws: A variety of screws (#4, 3/4 to 1-inch) can be essential for assembling new features like shelves or added trim.
- Fabric Options: Incorporating unique upholstery fabric, such as leather, linen, or mudcloth, brings a high-end feel to any makeover.
Maximizing Your Budget with Upcycling
Upcycling furniture is my top budget-saving tip. It’s a creative way to give old pieces a new life. For example, I turned a thrifted chest into a stunning piece for just $40.
I used a mix of old and new parts, adding rich walnut gel stain and chalk paint. Adding custom trim or new knobs can make a big difference. Techniques like layering paint and using mineral spirits with clear wax create unique finishes. Upcycling lets your creativity shine, making high-end looks affordable.
Unique Furniture Restoration Ideas
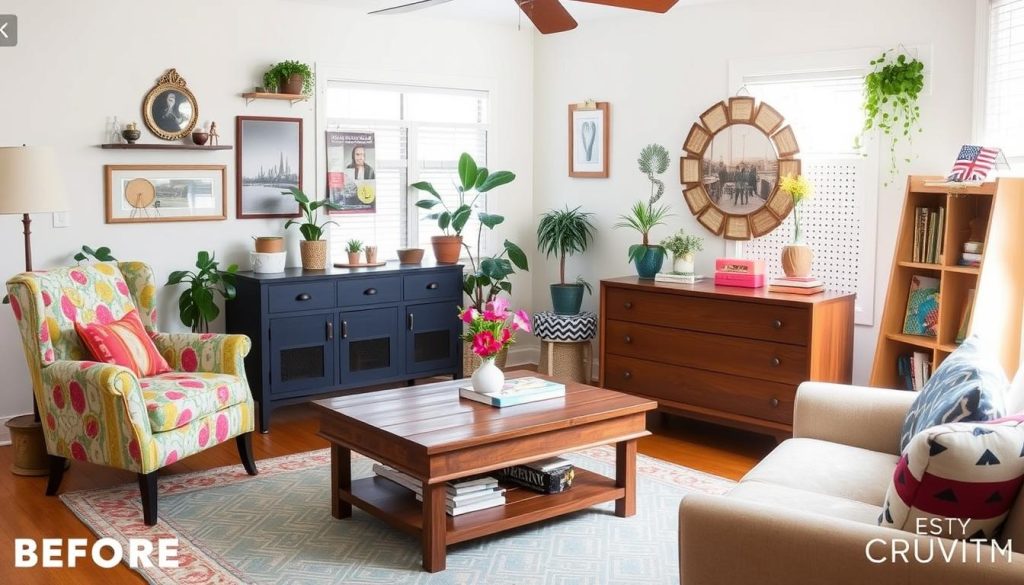
Starting on unique furniture restoration projects can spark creativity in your home. I’ve worked on many pieces, including old washstands. They’re affordable, costing between $20 and $50, and perfect for creative projects.
One of my favorite projects was a solid oak hutch. I turned it into a laundry room storage unit. It added both practicality and rustic charm to the space. Each project taught me that updating furniture can be both beautiful and eco-friendly.
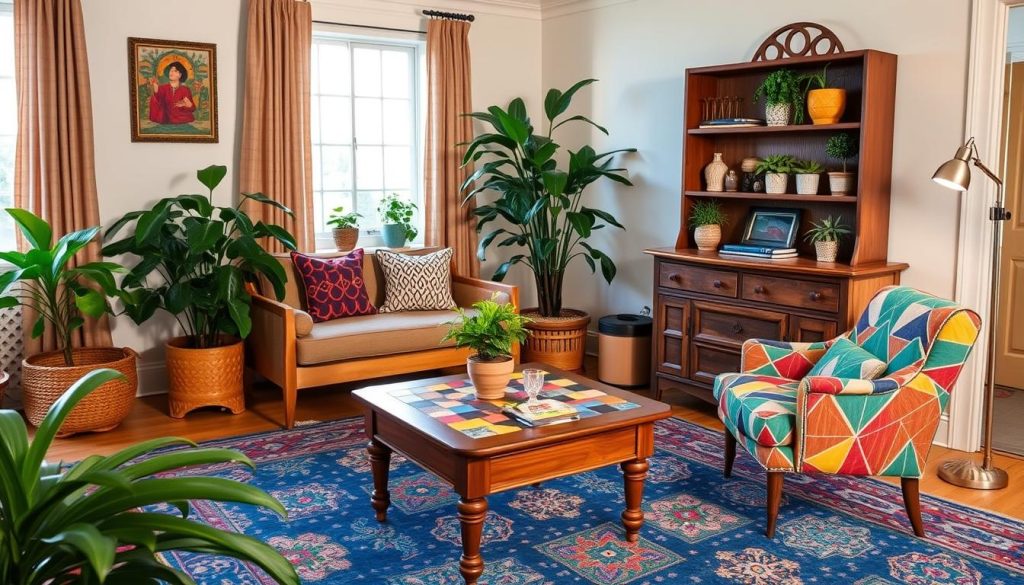
Every year, 12 million tons of furniture waste is produced. Refurbishing furniture helps reduce this waste. Upcycling wood furniture is especially rewarding, as it cuts down on landfill waste.
Platforms like TikTok and Instagram are full of upcycling ideas. They show projects under hashtags like #furnitureflip, getting billions of views. This shows people love to share their restoration work.
For beginners, start with simple tasks like repainting a dresser or reupholstering a chair. These projects build confidence for more complex tasks. Using your own or thrifted pieces can lead to amazing transformations, making furniture restoration very exciting.
Top DIY Furniture Painting Techniques
Exploring DIY furniture painting techniques can make any piece in your home look amazing. Different paints, like chalk and mineral, give unique finishes. These are perfect for creative projects. Knowing how to prepare, like cleaning and sanding, is key to a great finish.
Choosing the Right Paint for Your Project
Choosing the right paint is essential when refinishing furniture. Chalk paint gives a matte finish, great for a vintage look. Mineral paint is durable and comes in many colors. I always check the furniture’s condition first.
About 70% of furniture needs a fresh coat because it’s old or scratched. This makes me eager to start my projects in the garage.
- Utilize painter’s tape for clean lines.
- Consider bright colors to refresh old furniture.
- Experiment with color contrasts for a dynamic effect.
Layering colors can add depth and interest. I’ve had great results with this, like a Caribbean blue table that looks stunning. Adding gold touches or dark glazes can also change an unexpected color.
Layering Colors for Depth and Interest
Layering colors not only adds interest but can also give a dated piece a new life. I often try out geometric patterns and intricate details. These require special techniques for a polished finish.
Statistics show a growing trend in using bold colors for sophisticated designs. For furniture with lots of details, using multiple glaze layers can highlight these features beautifully.
When painting, I’m careful about removing tape. I wait until the paint dries a bit but not too much. This helps avoid damaging the finish. I also enjoy painting upholstery on accent furniture that’s not used often. This adds elegance without a big commitment.
There are so many creative possibilities in DIY furniture painting. I encourage everyone to try different techniques. You’ll find lots of ideas on social media. The world of DIY furniture painting is vibrant and full of inspiration.
Repurposed Furniture Projects
Repurposed furniture projects are a fun way to give old items a new life. Many people now look for second-hand furniture on platforms like Facebook Marketplace. This shows that there’s a big interest in making old furniture new again.
There are so many things you can turn into something new. For instance, an old dresser can become a cool media cabinet. Or, a vintage chest of drawers can be a stylish storage spot. With some creativity, even the most worn-out items can look great again.
- Distressing surfaces for a rustic look
- Faux wood painting to mimic the appearance of real wood
- Adding modern legs to give new height and interest
- Updating hardware for a fresh aesthetic
- Stenciling numbers or designs for a personal touch
These projects are not only budget-friendly but also let you express yourself. You can use materials like mid-century modern or vintage dressers to create something unique. The level of challenge depends on how much work the piece needs.
Repurposed furniture projects are all about being green and personal. They encourage a DIY spirit. By getting creative, you can make your home stand out with items that are both functional and unique.
Color Trends for Modern Furniture Makeovers
Color trends are key in changing any room’s feel. Over time, colors have shifted, but their power to change a piece remains. In 2024, soft neutrals, dark greens, and blues are in. These colors can give old furniture a fresh new look.
Working on projects, I’ve seen vintage Mid Century Modern (MCM) furniture’s lasting appeal. Yet, a simple color scheme fits its style best. Many choose dark or light colors like black, navy, and gray. Keeping some wood original adds to the furniture’s charm.
Interestingly, 30% of my projects used bold, vibrant colors. These colors bring back the MCM era’s fun vibe. But, it’s important to handle MCM pieces with care, especially if they’re from famous makers.
Want to avoid common mistakes? Avoid bright whites, grays, light blues, and reds if you plan to sell. Using trendy colors wisely can make your space stand out and become a treasured part of your home.
How to Assess Furniture Condition Before a Makeover
Before starting any furniture makeover, it’s key to check the condition of your pieces. I’ve turned old furniture into beautiful home highlights. Knowing if a piece is worth fixing can prevent future problems.
When I check furniture for a makeover, I look for a few important signs:
- Structural integrity: Make sure the frame is strong. Look for wobbly legs or cracks that may need fixing.
- Surface condition: Check for peeling veneer or wood chips. These can usually be fixed, but it’s good to know how hard it will be.
- Functionality: Check drawers and doors. Sticky drawers need sanding, and broken doors might need adjustments.
- Missing hardware: See if any knobs, hinges, or other parts are missing. These can be replaced, but it’s part of the budget.
My journey in furniture refinishing started in a small vintage shop. I refinished over ten pieces a week. Knowing the condition of furniture helps plan your DIY makeover. When looking for items at auctions, thrift stores, or estate sales, watch out for problems.
The time and effort needed for a project can change a lot. Basic prep, like stripping old finish, can take four to six hours. If repairs are needed, add one to three hours more. As I continued, I loved the eco-friendly aspect of giving old furniture a new life. The joy of restoring vintage pieces still drives my DIY projects today!
Finding Inspiration: Before and After Makeovers
Looking for inspiration for furniture updates? You can find it in many places. I often get ideas from before and after makeovers. These show how thrifted items can be transformed.
With the right vision, even simple pieces can change dramatically. I’ve worked on many projects. Each one has taught me something new.
Successful Case Studies
I’ve worked on everything from folding chairs to vintage hutches. For instance, I turned a $15 folding chair into something new with chalk paint. Seeing the change was very rewarding.
I’ve also shared five video tutorials. They cover stenciling and decoupage, which can really make furniture pop.
Another project was updating an old microwave cart. I repainted it and added new hardware. It looked brand new. Two-tone designs on dressers are especially eye-catching.
Adding fabric and wallpaper to hutches is also a great idea. It lets your creativity shine.
Common Mistakes to Avoid
While updating furniture is exciting, there are lessons to learn. One mistake is not preparing the surface well before painting. Using good tools, like a sander and painter’s tape, is crucial.
Another mistake is rushing. Patience is key, especially with detailed designs. Each step, from stencils to decals, is important. The effort pays off in the end.
Furniture Painting with Chalk and Mineral Paints
Choosing the right paint is key for a stunning furniture makeover. I’ve used both chalk paint and mineral paints. Each has its own benefits for different projects. Knowing these helps you pick the best paint for your needs.
Benefits of Using Chalk Paint
Chalk paint is my favorite for furniture painting. It sticks well to most surfaces, so you often don’t need to sand first. This makes projects faster to finish. Plus, it dries to a smooth matte finish and works well for different looks.
For instance, I turned a $30 Craigslist dresser into something special. I used colors like Mason Dixon Gray and Fluff. Stippling brush techniques added texture. Then, I sealed it with General Finishes High Performance for protection.
Mineral Paint vs. Regular Paint
Mineral paints are another great choice for furniture painting. They last longer than regular paints and often don’t need much prep. I used Fluff chalk-mineral paint on a table and chairs, getting great results even on old cherry wood.
Mineral paints dry quickly like chalk paints but are even more durable. Every time I use them, I see how well they work, especially in busy areas. Both chalk and mineral paints are great for DIY projects, offering creativity and lasting beauty.
Enhancing Upcycled Furniture with New Hardware
Turning old furniture into something new often starts with enhancing upcycled furniture with new parts. Swapping knobs, pulls, and hinges can change a piece’s look and feel. For example, switching to vintage ceramic knobs can give a piece a whole new style.
Finding affordable hardware is easy. Flea markets are a goldmine for unique pieces. Local clean-up days can also be a good spot to find items. Online sites like Facebook Marketplace let you search for specific items, like “free wood furniture,” and alert you when they’re available.
Being creative can make a big difference. Here are some tips for making your upcycled furniture stand out:
- Add decorative hardware to simple drawers for a pop of style.
- Mix and match different styles and materials for an eclectic look.
- Paint or stain existing hardware for a custom finish that suits your design.
In the world of furniture refurbishing, the right hardware can make a big difference. This practice not only improves your DIY skills but also encourages creativity. Each project lets me show my creativity and make something that will last for years.
Creating Your Own DIY Furniture Makeover Toolkit
Starting your DIY furniture makeover journey means having the right tools. A good DIY furniture makeover toolkit helps both new and experienced DIYers get great results. I’ll share some key tools for beginners and tips on finding them without spending too much.
Essential Tools for All Skill Levels
Having the right tools for beginners can make your projects easier and better. Here are some must-haves for your DIY furniture makeover toolkit:
- Paintbrushes and Rollers: Get different sizes for various surfaces.
- Screwdriver Set: Important for changing furniture and adding hardware.
- Sander: Needed for smoothing surfaces before painting.
- Measuring Tape: Crucial for accurate measurements and fitting.
- Utility Knife: Useful for precise cuts in different materials.
- Heat Gun: Great for removing old paint or finishes.
Where to Find Affordable Supplies
Finding affordable supplies helps you stay within your budget while making beautiful pieces. Here are some tips that have helped me:
- Look at local thrift stores and garage sales for used furniture and tools.
- Use online marketplaces for deals on surplus items.
- Visit discount home improvement stores for sales on paint and hardware.
- Consider sharing tools and supplies with friends and family to save costs.
Personalizing Your Space with DIY Projects
Since starting this blog in 2012, I’ve seen the magic of DIY furniture ideas. Over 5.1K shares show how people change their homes. I’ve turned more than 10 old furniture pieces into something new, adding my own style to each.
DIY projects offer endless ways to make your space unique. Techniques like ombré and stenciling can change a room’s look fast. Adding personal touches, like painting lampshades, can also update a room.
DIY projects let you show off your style and spark creativity. Whether it’s making colorful bookcases or planters, it’s very rewarding. I want to share 10 furniture makeover ideas to help make your home a true reflection of you.

